It really is surprising how big the engine looks now that it sits in the trike frame. It fits like a glove in the frame, but now that I have all this room, it will actually be more of a challenge to re-route all the ancillary hardware to get it running again.
The fuel tank from the bike it designed to sit right over the cylinder head and air intake box, but because the engine doesn’t sits along the centerline of the trike like it did in the bike frame, the fuel tank would be off center in its stock location and it just didn’t look good aesthetically. I tossed around the idea of a custom tank behind the seat which would keep weight low to the ground but anything custom starts to add up in cost. Plus the bike tank already has the fuel pump and sender built into it. After about a 3 month back and forth, I decided to just lift the tank a bit higher that normal, shift it so it is centered along the trike centerline and mount it above the engine. It will eventually be faired into the tail and also fit around a engine shroud I plan to install at some point.
I had to fabricate a rear hinge bar and weld it between the tail supports, then attach a front mount to bolt the tank at the front mounting locations. Very little modification to the tank was necessary other than removing some of the flange at the bottom edge of the tank to gain some clearance.
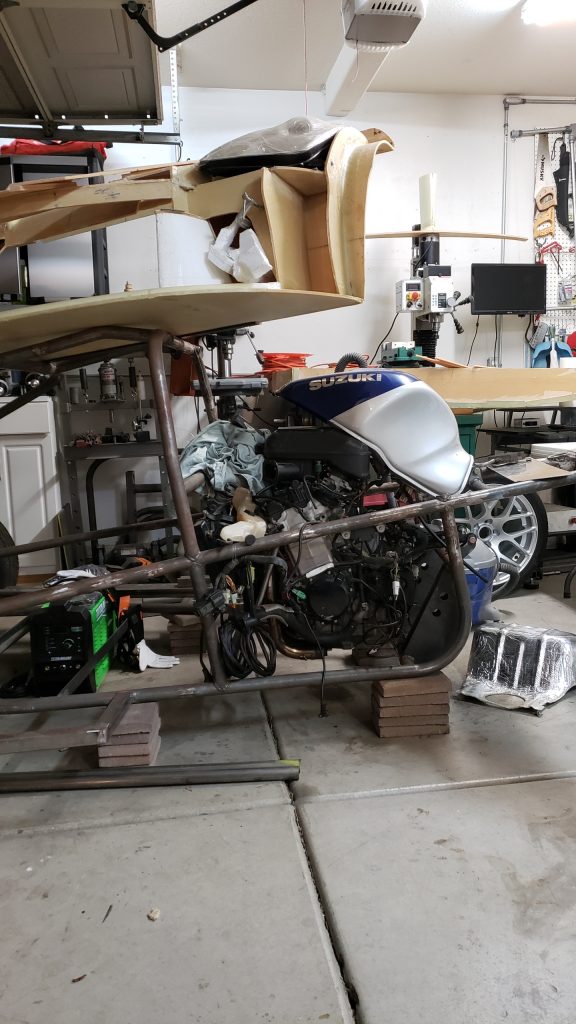
I still have the fuel line to modify slightly to get a little more length since I lifted the tank higher, but I like the position and look so far.
Wiring harness
Most of the original harness will stay intact, but the connectors at the ends need to be extended to reach where the hardware has been relocated, such as headlights, taillights, instrument cluster, ignition, etc. I found a really nice setup online and the guy helped quite a bit by asking lots of questions to get the extended lengths just right as well as making sure the connectors were the right style. The harness extensions look great and very robust and professional. I’ll write up more in the electrical section as I start to wire things back together.
The instrument cluster will of course be located in the dash so I started to work on building a dash panel. It will be fiberglass and will house the cluster, ignition key switch and all the other switches normally found on a dash (lights, start button, horn, turn signal). Since they were originally located on handlebars of the bike I will need to source some quality switches and locate them on the dash.
The steering wheel centers everything for the cluster so I began by welding a steering column mount to the dash support of the frame. The steering column is on I purchased through Speedway Motors and then modified its length quite a bot to get it short enough. The machine shop tools really make this kind of modification relatively easy and keeps the cost of custom shop work to a minimum. Here is the steering column as mounted to the frame now.

Progress!