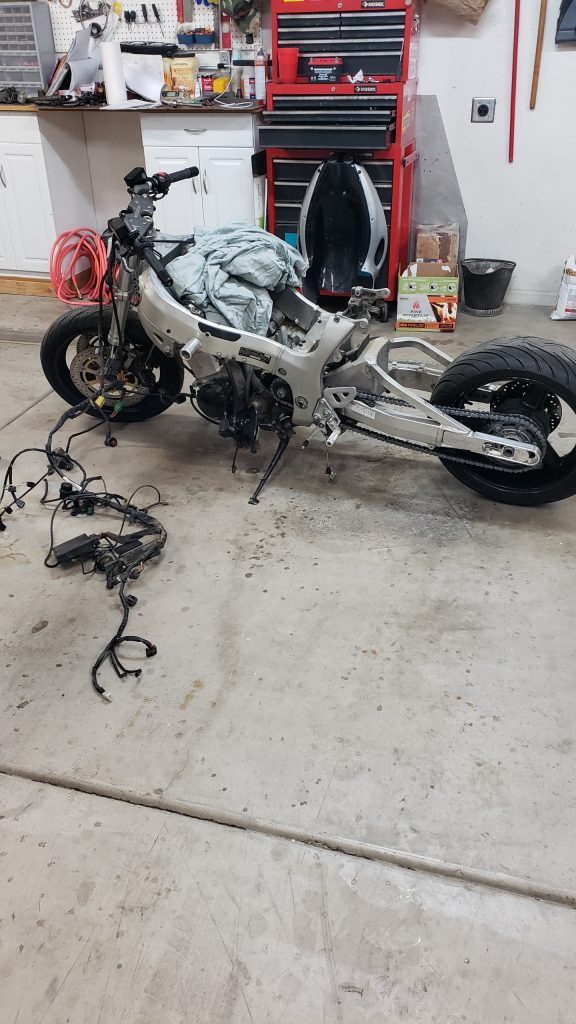
Beginning the week of March 15, 2021 I started the process of removing the engine from the 2001 Suzuki Hayabusa donor bike I purchased. By Saturday the engine was out and sitting on a rolling dolly ready to be mounted into the trike.
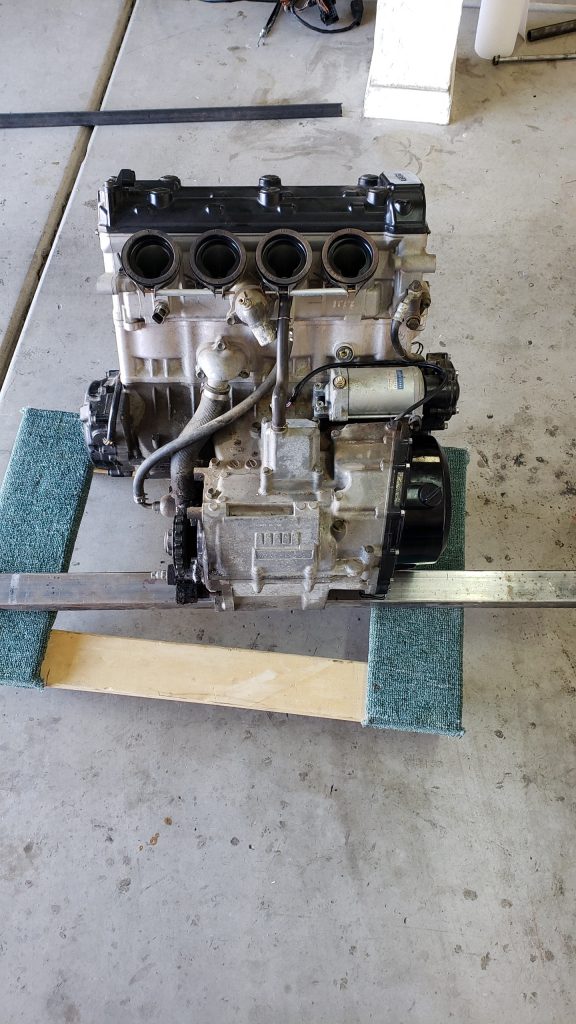
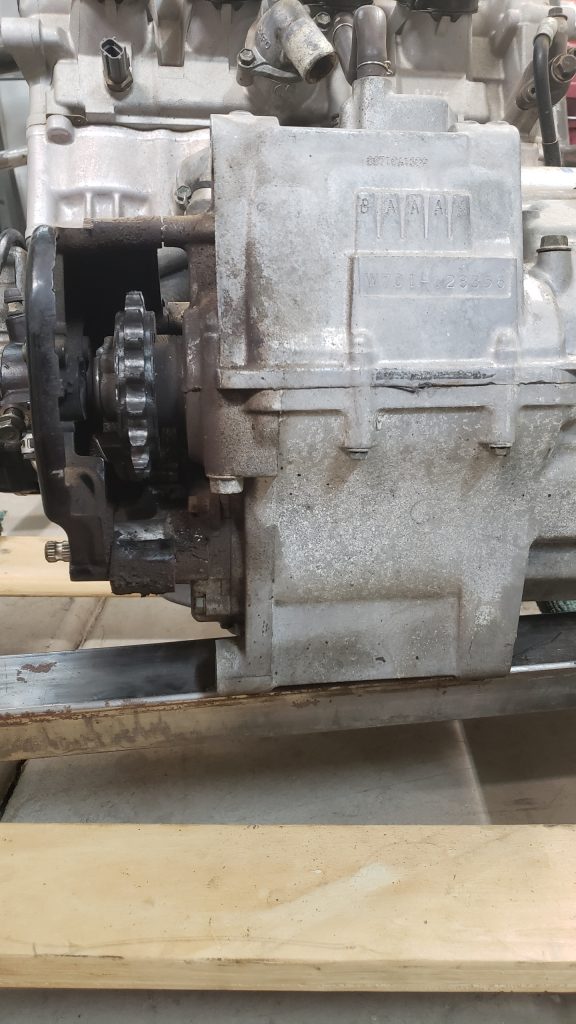
The engine is secured in the bike at the rear bottom of the case and the rear top of the case. It is also supported near the top of the cylinder head on each side. After engine removal it was easier to see the location of the bolt holes used for mounting, so I took some measurements and began to design how I would build the engine mounts and attach them to the trike.

Lower engine mount
The lower aft mounts will sit on the lower engine cross brace on the trike frame. The left mount will be 3/4″ diameter tube with 1/2″ ID hole sitting on braces about 2″ above the cross brace. For the right side mount, more work is required to machine a 1-1/4″ rod with a 26mm threaded hole. The threads will match the engine mounting thrust adjuster that came from the bike. This adjuster takes up the slop of the engine frame assembly and engine case to avoid the use of shims. I decided to re-use them as it makes it much easier to install and remove the engine. I’ll have to machine the internal threads and then mount this to braces on the cross brace of the frame. Once this is done I can install the engine and begin finalizing the design and begin fabricating the aft upper mounts.
Lastly, the cylinder head braces will be fairly simple tube braces with bolt holes added and attached to the lower mid-frame brace.