In July 2021 I started to fabricate the mounting tabs and braces necessary to install the engine as I described in the previous post. Lower engine mounts were done first as the engine hinges on this pivot point. I didn’t get pictures of the parts before welding it to the frame, but here is a photo showing the engine sitting on a dolly and the lower driver side mount welded in place.
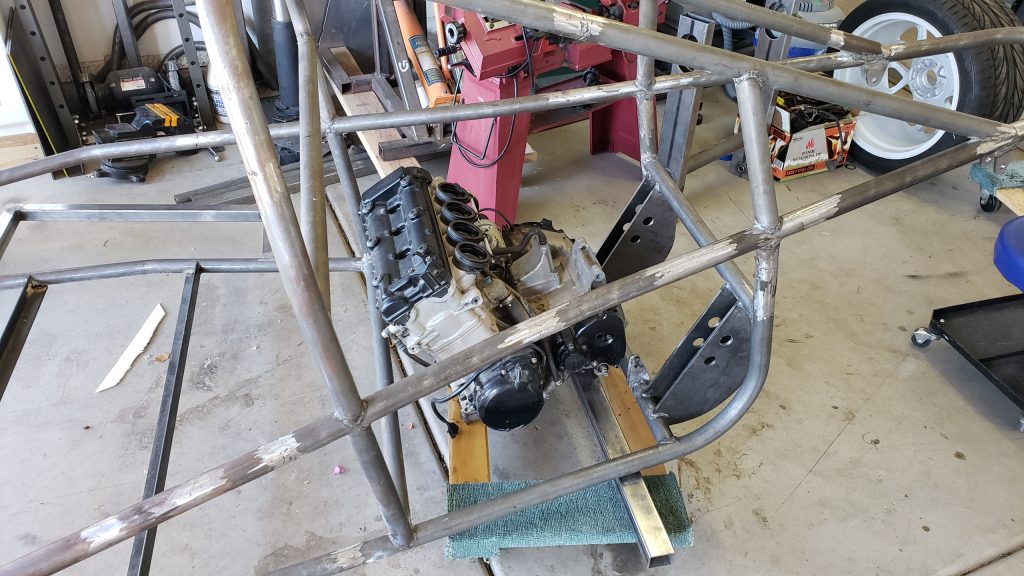
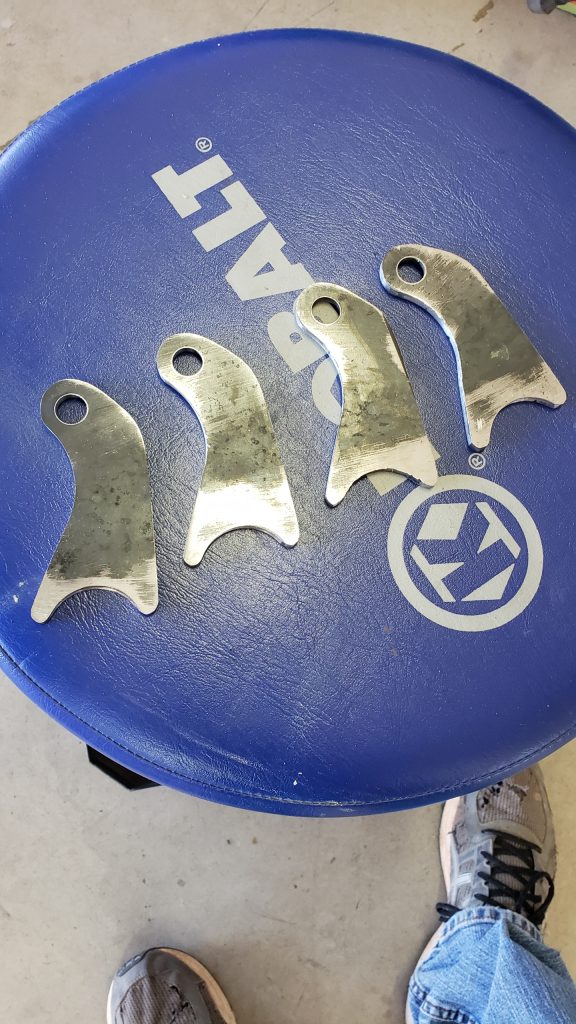
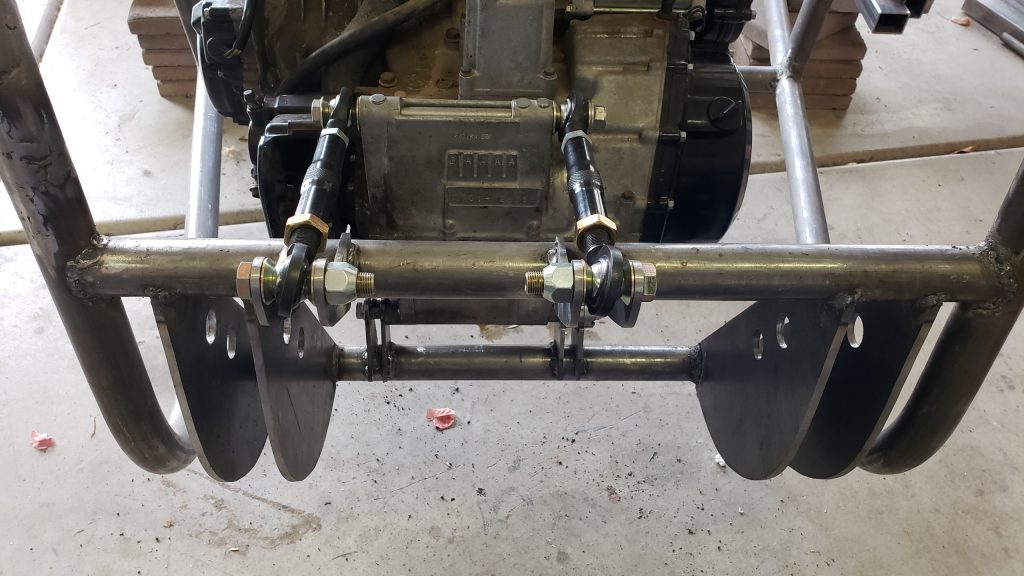
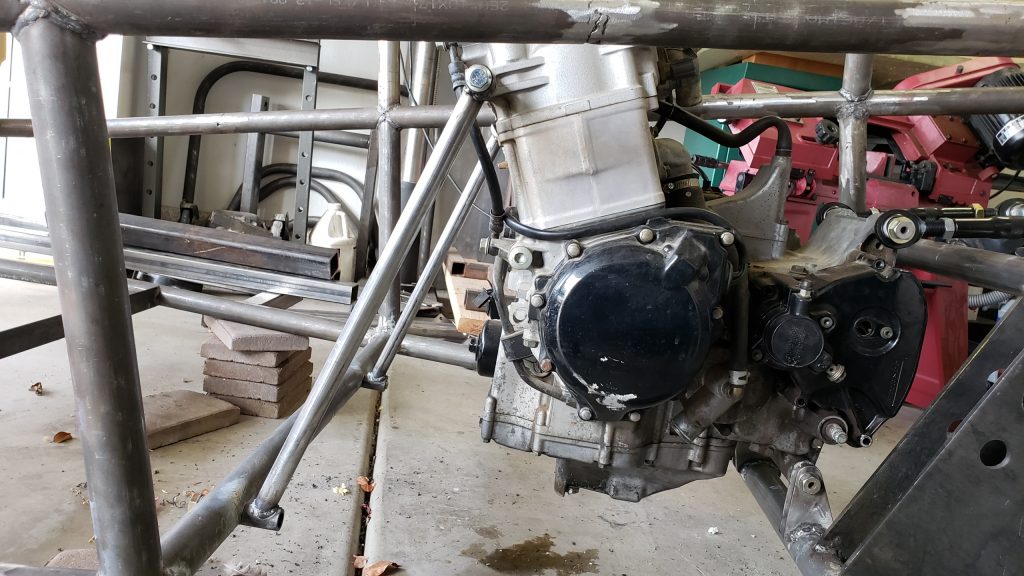
With the lower mounts in place, I maneuvered the engine into the mounts and attached the same bolt that I removed from the motorcycle. I then tilted the engine up to get a rough idea on how to fabricate the upper mounts. Once I took those measurements I fabricated 4 identical mount tabs and welded them to the upper crossbar, two pairs, so that I could attach a turnbuckle assembly to each side of the upper engine mount boss of the engine. I could then fine tune the adjustment of these turnbuckles to get the engine in the right horizontal position.
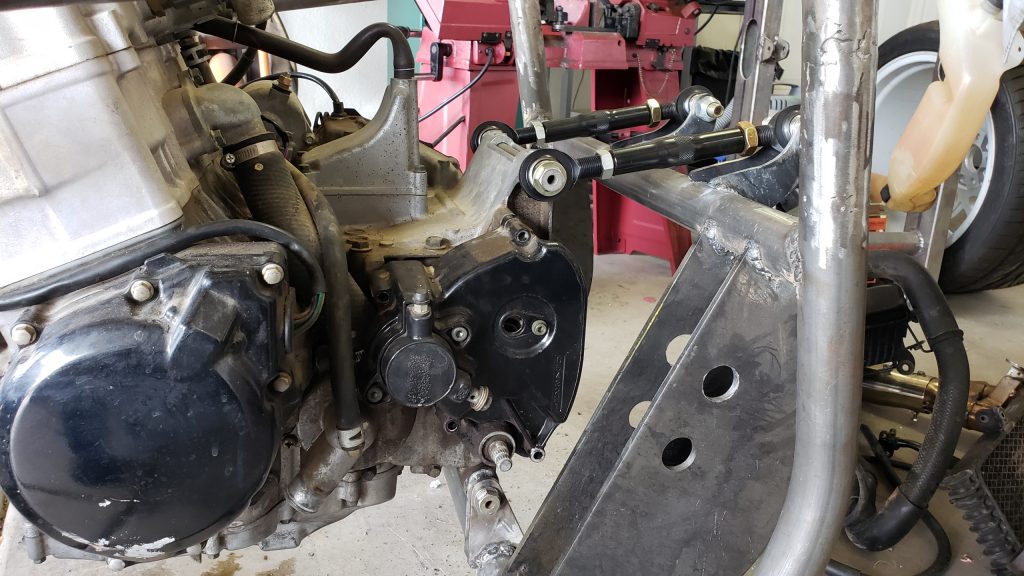
With the engine now supported at the rear by it’s mounts, I fabricated some tube braces for the front of the engine to lock the engine in place more securely and take weight off the upper tab turnbuckles. Each brace is attached to the cylinder head engine mount attach points on each side of the engine.
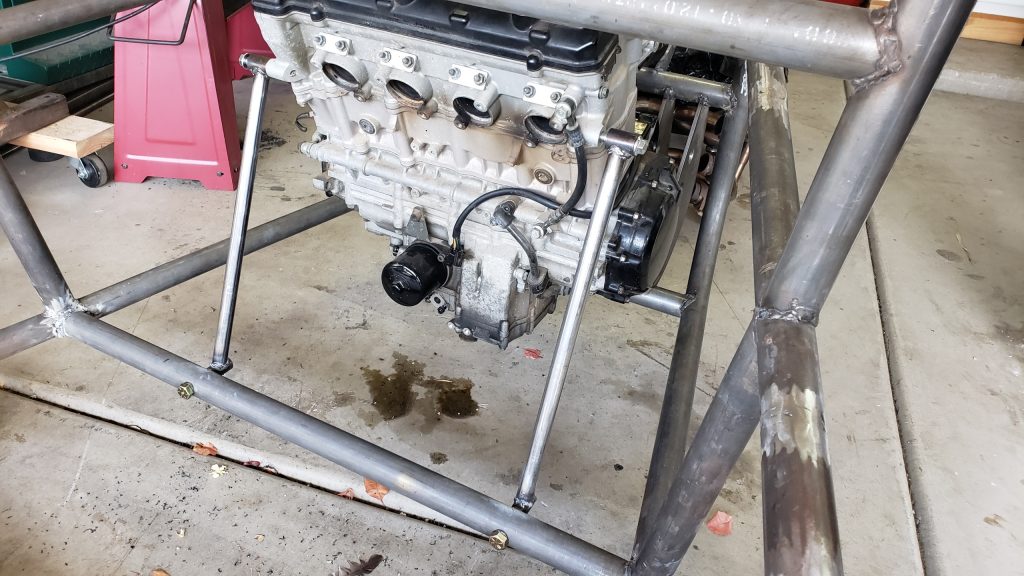
The engine is now braced in place on it’s mounts and I’m ready to tackle getting the engine wiring harness, fuel tank, radiator, oil cooler, exhaust installed. Oh the list seems long! But be patient – Slow steady progress will get the job done.